Introduction
Garage doors are essential for the security of your home and the convenience of your daily life. Whether you're rushing to work or returning from an errand, a malfunctioning garage door remote can lead to unnecessary stress. Programming your garage door remote is a simple task that can save you time and hassle. In this guide, we'll walk you through the steps to program your garage door remote, ensuring that you can smoothly operate your garage door in Greenwich, CT.
Why Programming Your Garage Door Remote is Important
Understanding the importance of your garage door remote is the first step in appreciating why programming it correctly matters:
- Security: A properly programmed remote helps secure your property from unauthorized access.
- Convenience: Easily access your garage without the hassle of getting out of your car.
- Trendy Technology: Many modern remotes offer additional features like smartphone integration.
Preparing to Program Your Garage Door Remote
Before diving into the programming process, you'll want to gather a few materials and check some settings:
Materials Needed
- Your garage door remote
- The garage door opener unit
- Step ladder (if needed)
- Pen and paper (for notes)
Check Your Garage Door Opener
Make sure that your garage door opener is in good working condition:
- Ensure the power is connected.
- Check for blinking lights on the opener, which indicate operational status.
- If there are issues, consider reaching out to a professional in garage door repair in Greenwich, CT.
Steps to Program Your Garage Door Remote
Now that you're ready, let’s see how to program your garage door remote.
Step 1: Locate the Learn Button
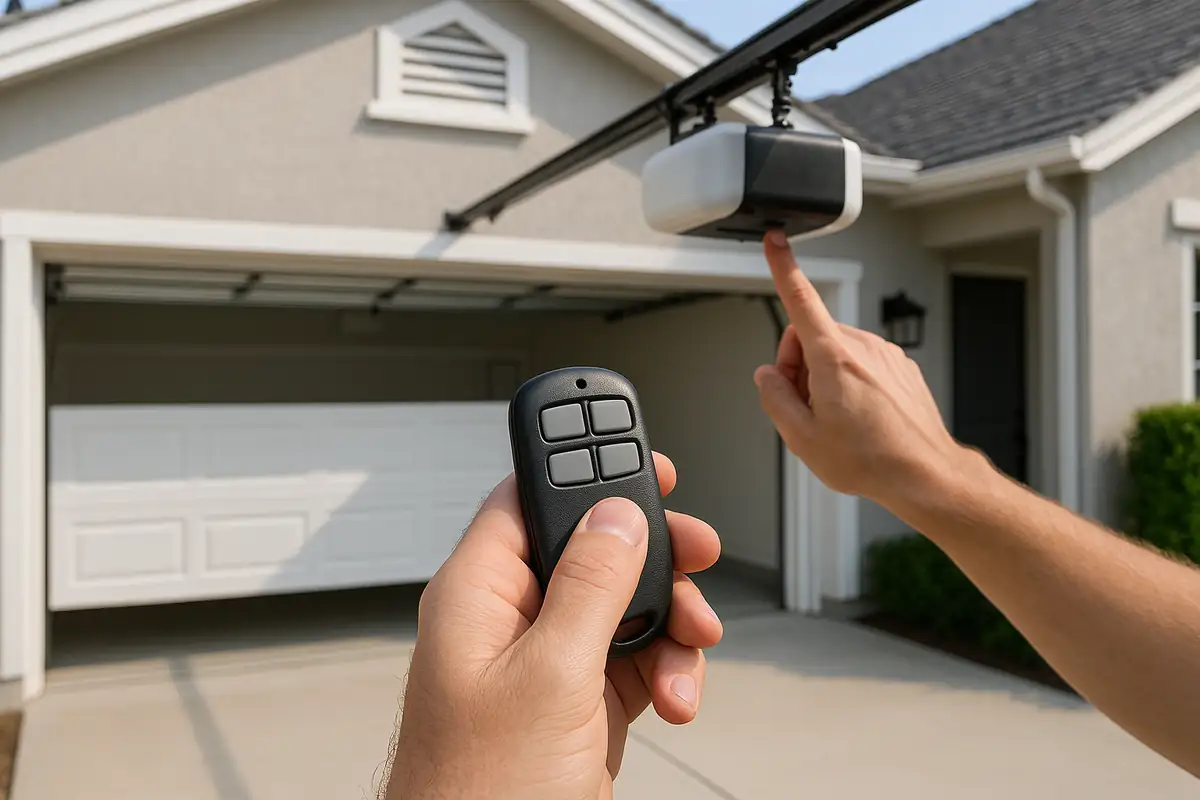
Find the 'Learn' button on your garage door opener, typically located on the back or side of the unit:
- Use a step ladder to reach the opener if necessary.
- Press the 'Learn' button. The indicator light should turn on, signaling that the unit is ready to accept a new remote.
Step 2: Prepare Your Remote
Grab your garage door remote:
- Make sure the remote has fresh batteries.
- Stand within 5-10 feet of the garage door opener.
Step 3: Program the Remote
This part is where the magic happens!
- Press and hold the button on your remote that you want to be programmed.
- Within 30 seconds, the indicator light on the garage door opener should flash or remain on, confirming successful programming.
- Release the button on the remote.
Step 4: Test Your Remote
To ensure that everything is working as it should:
- Press the button you just programmed.
- Watch for the garage door to open or close.
Troubleshooting Common Issues
If your programming attempt doesn't go as planned, don't worry! Here are some common troubleshooting tips:
- Remote Not Working: Check that the batteries are new and installed correctly.
- No Response from Opener: Ensure the opener is plugged in and functioning.
- Indicator Light Not Flashing: Repeat the programming steps, ensuring you press the learn button correctly.
When to Call a Professional
While most programming tasks are straightforward, there are some instances where you should reach out to a garage door repair expert in Greenwich, CT:
- If your garage door opener is older and consistently has issues.
- When you encounter persistent programming failures.
- If there are mechanical problems with the garage door itself.
Conclusion
Programming your garage door remote is a manageable task that enhances the convenience and security of your home. With a few simple steps, you can ensure that your garage door operates smoothly. If you encounter any challenges, don’t hesitate to contact a trusted garage door repair service in Greenwich, CT, to assist you. Secure your home and enjoy the ease of a properly functioning garage door remote today!
Ready to get your garage door back in shape? Contact us for expert garage door repair in Greenwich, CT!
Explore More Resources
Related Articles
Service Areas
We proudly serve Greenwich, Glenville, Byram, Mianus, Port Chester and more areas.
Our Services
Professional garage door repair, spring repair, opener installation and more. View all services →